In a machine vision system, the camera is important, but it is only one part of the result. The system also needs suitable lighting, lens selection, positioning, triggering, and software settings. If the image is unclear, the software may struggle even if the camera is expensive.
Factories often inspect products that move quickly, reflect light, vary in colour, or include small details. A good setup makes the important feature stand out. This may be a scratch, printed code, edge, hole, label, component, seal, or surface mark. The clearer the image, the easier it is for the system to measure or detect the area being checked.
Why lighting matters
Lighting controls contrast. It can reveal details that are hard to see under normal room light. Ring lighting, backlighting, bar lighting, dome lighting, and angled lighting can each create a different result. A shiny surface may need a different approach from a matte surface. Transparent items, metal parts, labels, and circuit boards also respond differently to light.
For example, backlighting can help show the outline of a part, while angled light may reveal surface scratches. A label check may need even lighting so text or codes remain readable. In many projects, testing several lighting methods is more useful than guessing from product photos.
Camera and lens selection
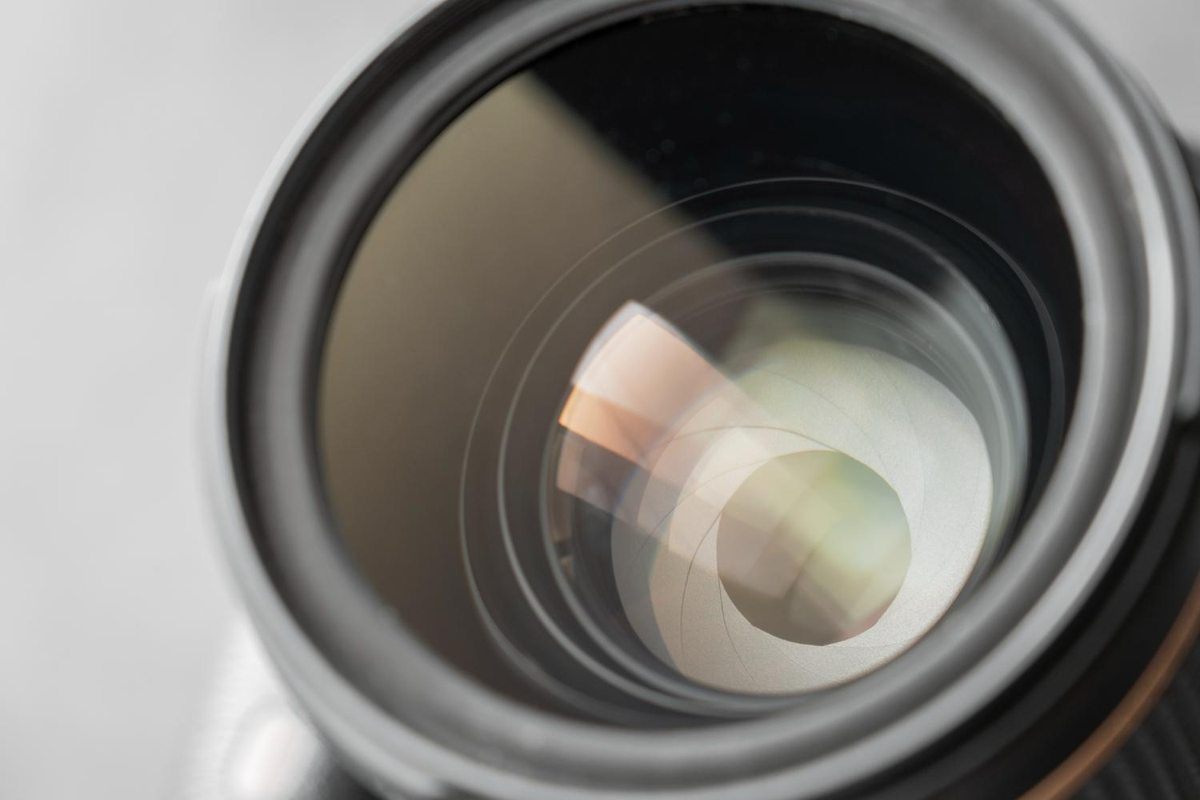
Camera choice depends on what needs to be seen. Resolution affects how much detail the image can capture. Frame rate matters when products move quickly. Lens choice affects field of view, working distance, and image sharpness. A close-up inspection may need a different lens from a wide conveyor view.
The goal is not always to choose the highest specification. The goal is to choose a setup that matches the inspection requirement. If the system needs to measure a small defect, resolution and lens quality become more important. If the system only needs to confirm whether an item is present, the setup may be simpler.
Testing with real products
Testing should include real production samples. Good items, defective items, dirty items, reflective items, and borderline cases can reveal whether the camera and lighting are reliable. This is especially important in Malaysian factories where heat, dust, vibration, line speed, and product variation may affect daily operation.
It is helpful to test the setup across different shifts or product batches when possible. A part may look different under slightly different conditions, and packaging may change because of supplier variation or printing differences. If the system only works with one perfect sample, it may not be ready for daily production. A better test checks whether the image remains stable when normal variation appears.
Operators should also understand what the camera is expected to see. If the inspection depends on a certain surface area, label position, or printed code, that point should be clear during training. This helps teams notice when the setup has moved, lighting has changed, or a fixture needs adjustment.
Cost should be compared with reliability. A lower-cost camera may be acceptable for a simple presence check, while a more detailed measurement task may need stronger optics and more stable lighting. The right choice is the setup that produces a clear, repeatable image under normal production conditions. When the image is dependable, software settings are usually easier to maintain.
Camera and lighting choices also affect related applications such as machine vision sensors and factory inspection uses. A reliable image makes every later decision easier, from pass-fail checks to data collection. In simple terms, better image quality gives the system a better chance of making the right decision.